Saturday, 24 January 2015

SLA 3D Printer Project Log 12: Dropping the Hammer on lack of construction

You know that feeling when you've finally been liberated to make real progress on something?  In a sea of drudgery and busy-bodying in the real world, this is a shot of Dopamine straight to the brain.  This is even more so when you've been procrastinating something for so long that spiders the size of your big toe have set up ambush positions in your cooking utensils (as happened to me when I cleared out my shed; yes, my spine is Petri Jelly, no need to remind me...  *sigh*).

Nails, the classic solution for design ineptitude - that or excessive amounts of glue and filler!

The rush of finally taking action is, as we all know, the best time to find out we've been imbeciles – as I found out when I discovered my top vent had no tabs for locating the parts together!  I had basically expected the builder to be able to glue these together against gravity no matter which way up the join was being made.  Rest assured this will be fixed in the final 1.0 release, but for now, we can get busy with a Pin Vice (Check out the review here!).

If you think this is laborious, try correcting a hammer drill gone haywire...

As I examined the Z carriage to which the Build Bed is mounted to, I couldn't help but notice that there was a slight warp, a horrifying scenario for a part absolutely dependent on being straight and true!  At risk of making the Z carriage too heavy for the Stepper Motors, I knocked together a barn-door solution on a whim...  Unprofessionalism?  What is this, the Intel FABs?

Spare Extrusions fixed in place with Stud-Locked Nuts and Bolts; a nice solution, though I'd be lying if I said I wasn't concerned for strain on the Z motors.

Among the bits that I bought in a project-buying frenzy were some black, chunky tapes with a faint magnetic field.  These are for mounting the UV-Reactive Acrylic Window Panels.  TBH I'm a little worried about their powers of retention given that most ferrous things are barely attracted to them, but at least my Hard Disks are safe :)

Pro-Tip for those doing this:  Dampen the plywood surface where the ends of the tape meet, apply cyano, then affix.  Safeguard against peeling ;)

One final note is how we can expect the panels to be mounted; I've found some Slim T-Nuts for the extrusions that don't need to be slid in before the panel is aligned, so I can mount the panels after the frame is built – you can't imagine how much rage this will save!  On the downside, I've missed out on the chance to become the next Francis...

This thing locks against the extrusion when tightened, so no worries about it spinning in situ.

Locking in action, shouldn't too hard to remove them again.

Stay Productive...

Monday, 19 January 2015

Tawe's Testing: The Maplin Pin Vice Set Review

Here it is, Review the 1st, and it's a fairly ubiquitous tool for those who work with resin and etched body kits – the Pin Vice.  Maplin furnishes the reviewer with this device, being of all-metal construction and coming with a kit of microscopic drill bits, it seems we have been spoiled at first glance.
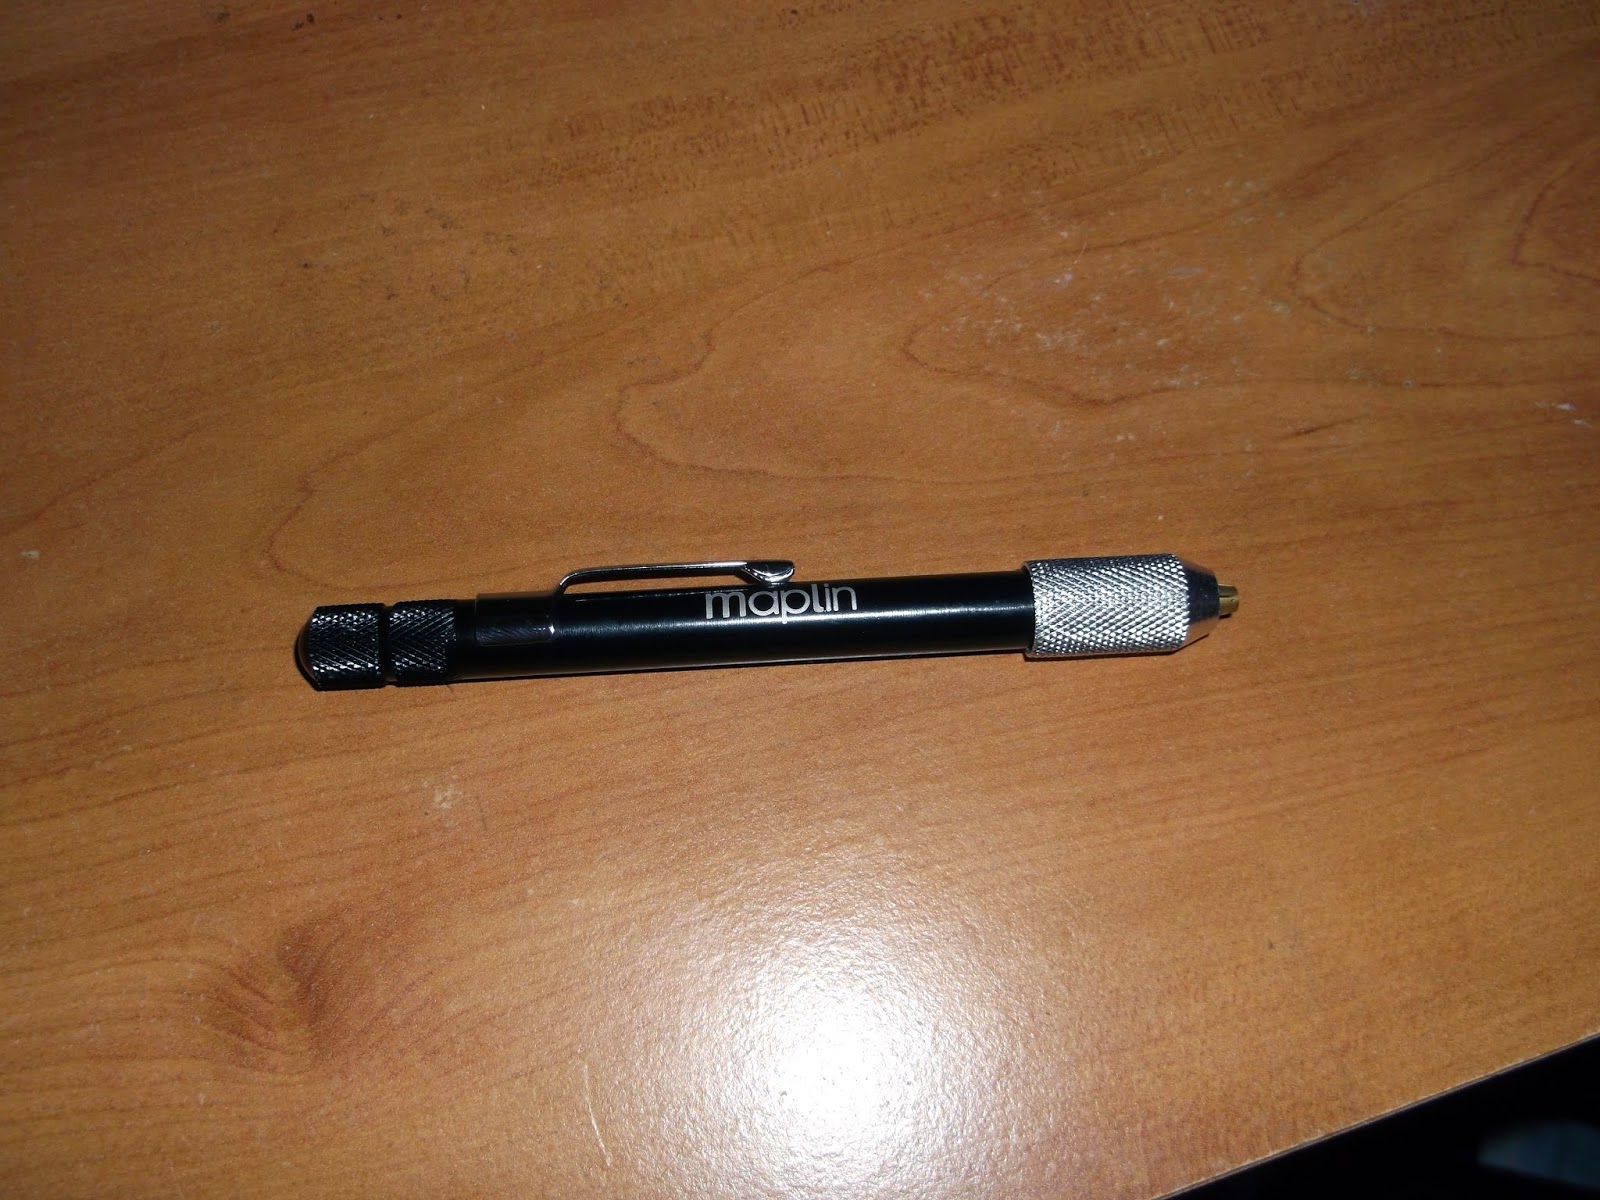
Even the Maplin lettering looks neat, no budget aesthetic here!

Upon inspection the unit shows great promise – The aforementioned all-metal construction lending a feel of dependability that is essential in any respectable tool, the knurled handles adding to the industrial ergonomics.  There is even a pen clip on upper side of the body to shove it into a pocket pouch, although doing this with a 0.45mm handrail-sized bit installed seems like asking for a punctured lung!  The collar is also suitably knurled and seems to have a snug hold on the chuck, though becomes quite irrelevant, as shall be explained in good time.

Odd though it is, the asymmetric nature of the chuck did nothing to prevent good use :)

There's a lot to like initially about this set, only costing a nice round £9.99 (leaving a penny for the copper box!); giving you a 20-piece bit set to pick from, ranging from the human-sized 1.5mm bits to bits so absurdly thin you could bend them with your breath.  Once I'd got a 1.2mm bit in, and gotten stuck into some plywood, the vice was very stable and made light work of drilling pilot holes 20mm down, making drilling parallel to the plys a much calmer experience than you'd expect, with no fear of splitting the wood.  It is here, though, that a rotating top would be highly appreciated, especially when you need to put some real pressure down.
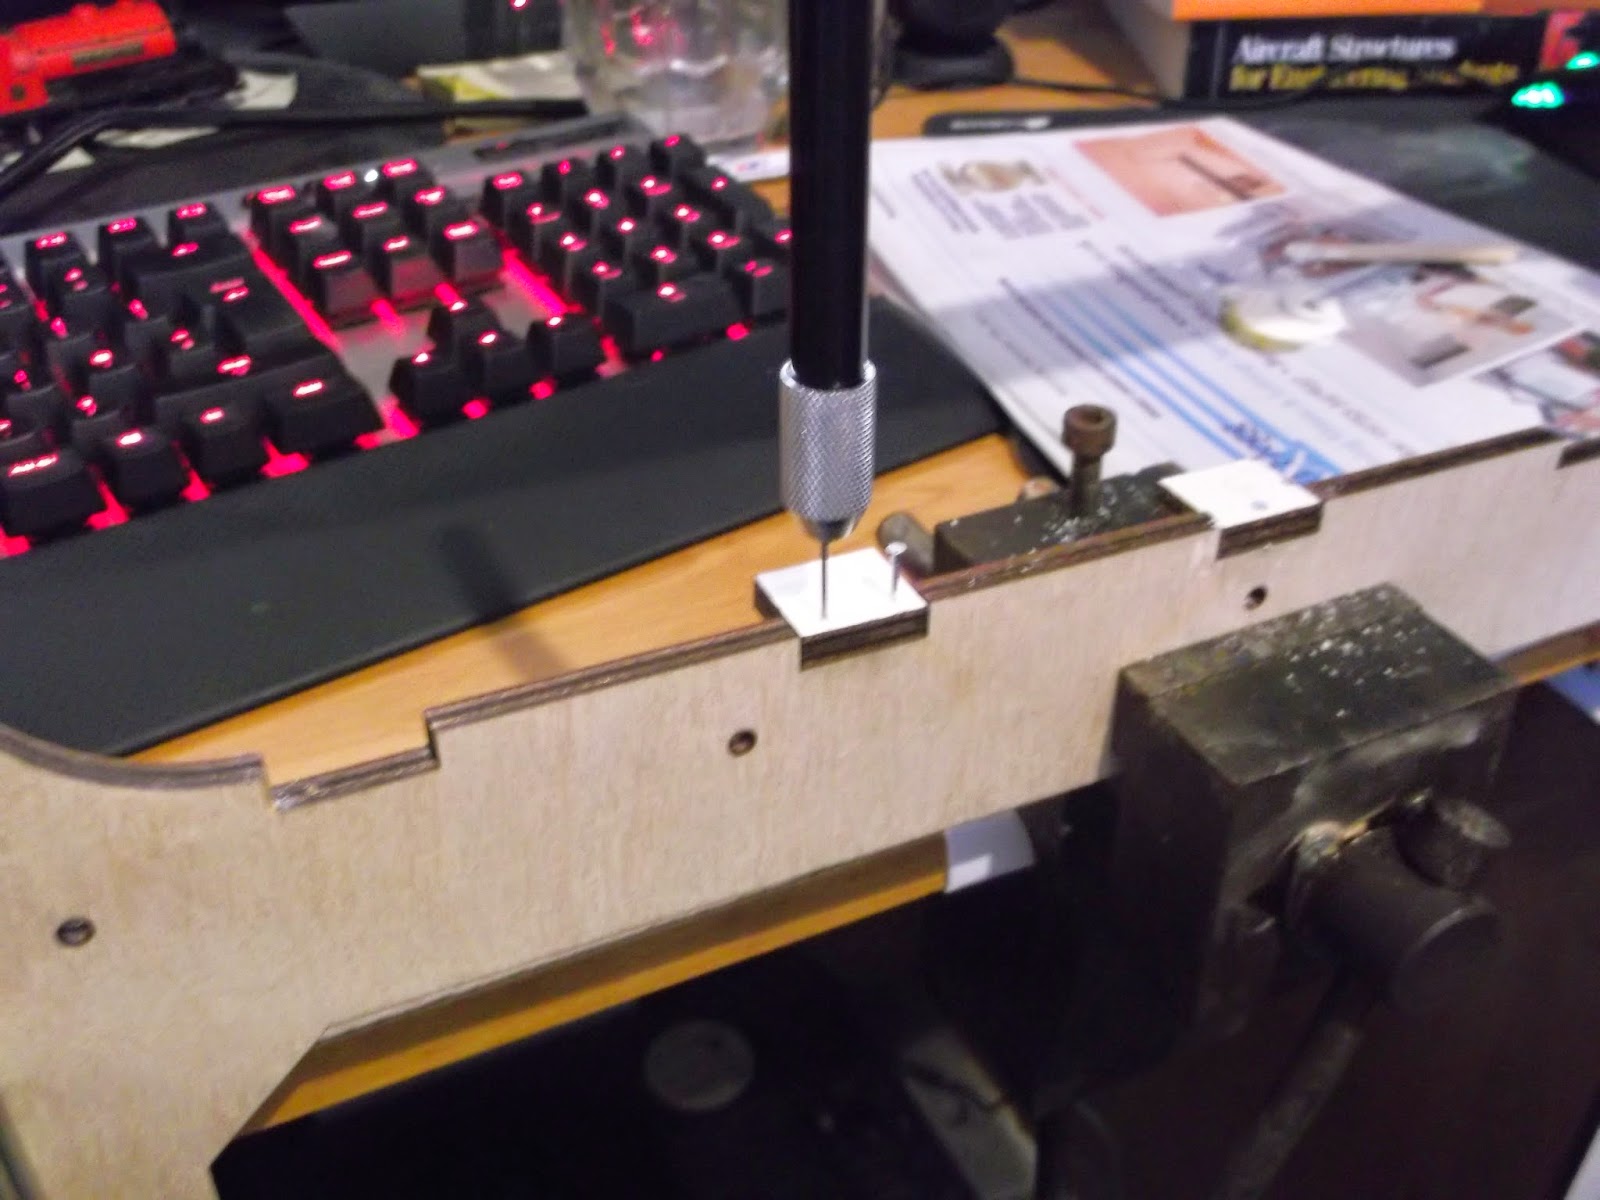
The Pin Vice on test, looking quite at home burrowing into some 6mm plywood forming the top panel of my SLA 3D Printer.  Yeah, that chunk of aluminium and keys is my keyboard, I take my PC equipment very seriously indeed...

And this is only where the issues start.  Chief among the problems is probably the one thing that makes this set both cheap and versatile – the chuck; I do like the idea of not having to exchange chucks whilst reaming out different holes, if only for the sake of sheer expediency, however, if removing the bit becomes like playing tug-of-war with a German Shepard in an exosuit, that's where I draw a line the size of a country border.  Upon removing the chuck, you'll find a hexagonal end not unlike those found on interchangeable screwdrivers; sadly, hopes of being able to use a more comfortable handle are quickly dashed upon finding the end flopping hopelessly in the socket (you might argue that this arrangement has no collar, and you'd be right, but with a chuck as clenching as this, I don't think that's a major loss).

Not quite a decent fit, don't know why I expected this brassy metal to be magnetic, but there you go.

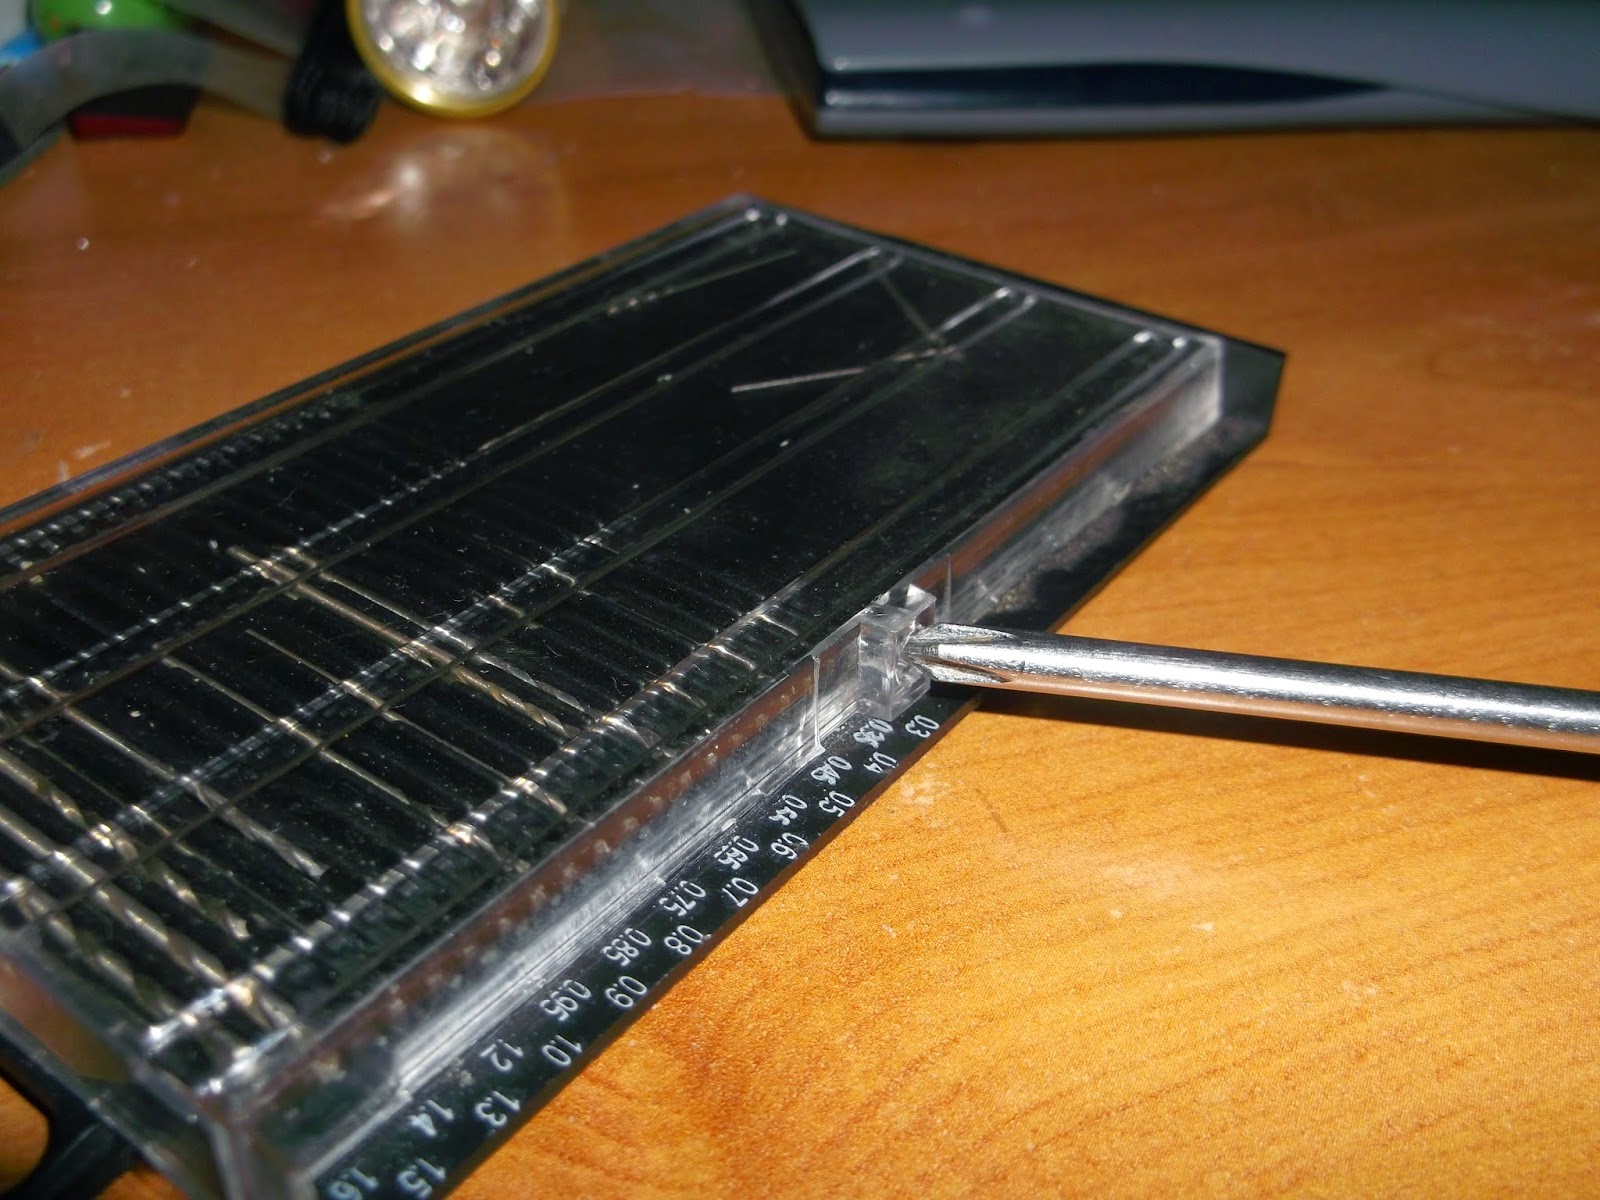
Then there's the Bit Box.  The bits themselves are decent, I've seen worse tools, but the box they came in seems like it was designed to aid in sapping POW morale; it's bad enough that there's no clips holding the bits into place, but whoever made the lid cling to the tray like a kitten to your jumper ought not to become a politician, as this design error will surely be his opponent's dream trump card!  As if the lid was not okay with just being clingy, it's not immediately apparent how it opens, and the best I've come up with is to use a Philips screwdriver to (valium in hand) prise it open.  Not a good job here, especially after the promise shown by the Pin Vice itself.
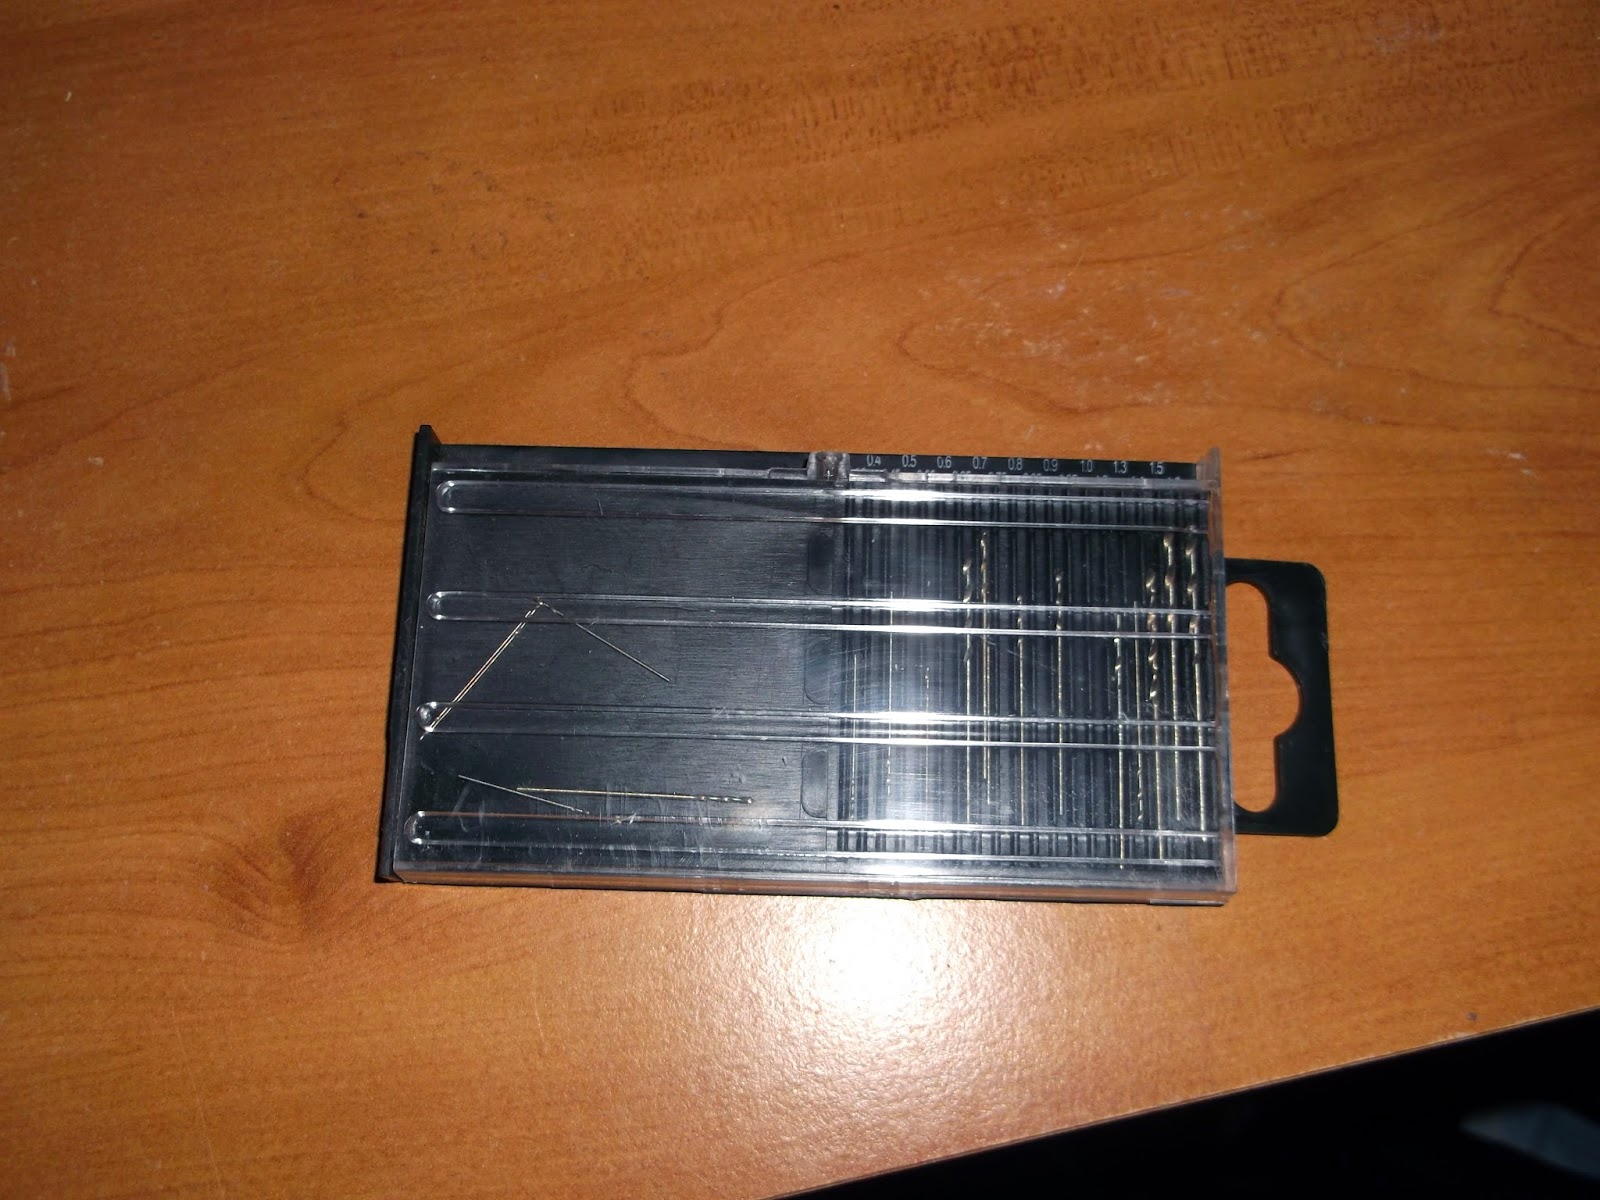
Quite a selection, even if they look like they don't damn well behave themselves!
The most precise and careful way I found of getting into the box, depends on how steady your hands are.
Since this is my first review, I ought to detail how my review scores work.  First off is Detail, pretty much the objective of out hobby, so it makes 30% of the score.  Quality is a close second, also taking 30%, since we all want a model that'll last, right?  Function takes 25%, maybe a little small, but if this is poor at least it can be made into a static prop.  Finally Value is at 15%, value is always welcome, but I reckon most would shell out for quality in other regards, wouldn't you?  The overall score is calculated with these in proportion, with each point being 5%, so Detail is 6 as is Quality, Function is 5 and Value is 3; the overall score is consequently out of 20.

So my summation of all this goes thus:

Detail 3/6
Probably a little strange that a tool gets a detail score, even so, in my mind it represents how much attention was paid to little additions that increase comfort, functionality, ease of use, etc.  This is a fairly average example since the pen clip is nice as are the knurled handles, but it could have done with more.

Quality 3/6
Another average score, the Pin Vice itself being worthy of a 4/6, and the Bit Box taking 2/6, this makes a mean of 3/6.  Pity.

Function 4/5
The Pin Vice works very well, as do the included bits, only that lid on the Bit Box lets it all down with it's steadfast refusal to part without showering you with swarf-laden fletchettes!

Value 2/3
While £9.99 seems expensive in this day and age, there's no getting away from the actual value proposition here; some may argue that you can get better at Poundland and eBay, but with both you take a chance – Poundland tools are usually only good when they are simple things like sanding blocks and hammers, while eBay deprives the customer of a direct, tactile assessment of the product.

Overall 12/20

Only slightly above average, not going to be used in Hornby's R&D Benches anytime soon like similar offerings from proper hobby suppliers, so it's probably best bought in the same manner I did – for want of a quick tool for pilot holes.

In other words, I'd recommend something proper such as this Expo Drills & Tools Pin Vice - £5 at a model show, several chucks made out of proper tool steel, and a more versatile handle to boot.

Sunday, 18 January 2015

Charlie, I think we're on the wrong branch... A confessional

As I write this on the train to work for the first time (coming up in the world ;) ), I'd like to reflect on the possible directions this blog could take; for the 5 people who know this place exists, anyway.

As you are no doubt aware, my SLA 3D Printer is taking a god-awfully long time to come to life, partially because of life concerns (my main PC upgrades being a prime example), but nonetheless, i'm beginning construction proper.  The frame members are complete, ready to join and looking pretty good considering this is my first time with an angle grinder!  The Plywood Panels are ready to be assembled as required and accept paint.

Another thing that constantly nags my attention is the fact the virtually no progress has been made on the Shapeways side of Tawe TMD; there are several reasons for this, but the main offenders are:
  1. Material Properties – WSF (polyamide) is tough enough for a model railway wagon chassis, but produces lesser detail than early 2000s N gauge models, I.e, the period where it was seriously mooted that this scale was dying!  FUD is acceptable, but far too brittle in tests, with W Irons and springs falling off only enough force to bruise a gnat.
  2. Service – Shapeways is under heavy strain right now, it's a new startup riding a technology that is a newborn amongst giants.  These are not a good combination for rapid delivery and processing, with minor changes in models taking 3 weeks to be delivered and a further week for testing and modification.
  3. Research – Diagrams of the ancient wagons I intend to populate my Shapeways store with are hard to come by, and when I do finally find them, they’re often fuzzy with poor detail.

1) is unavoidable for the time being, we'll need newer technologies to print more useable materials before I can seriously consider making entire N gauge wagons (chassis included!) in a 3D Printer. 2) is up to Shapeways to sort out, or If another company can sort that out I'd love to hear about them :).  3) is a bitch, but not entirely unsolvable in many cases.  With regards to my current 3D printed wagons (the Metro Brake and the Rigid 8), I'm sorry to say that these wagons are suspended for the time being, while it's possible to make decently detailed models, 3D Printing really has to catch up strength-wise before I can consider selling them as a serious product.  I may consider a hybrid approach of etches and 3D prints, as EtchedPixels seems to be getting on quite well with, but I'll need to learn my way around brass etching first and my first attempts are a stain on my modelling career that shall never be spoken of again.

Somewhere, Bob Symes weeps for future generations...

In other news, I will be visiting the British Festival of Railway Modelling in Doncaster on the 7th of February.  I've never been to either Doncaster or this particular show, so it ought to be fun on both counts.  This neatly brings me to another announcement – There shall be reviews on this blog!  Oh yes, the time has come.  Given that I now work hours slightly worse than 9-5 (8-6, though I get an hour's lunch in which to write features, or bilge if you refer my personal blog), I'll probably examine smaller products for more intimate reviews; things like whitemetal kits, brass kits, 3D Printed wagons and static objects.  I'm itching to sample the state of our hobby's 3D printed items firsthand, even the best pages don't tell you much about things like ergonomics (for things like handles), surface quality and ease of construction.

As for features, I'm not sure they'll come to prominence for a while.  I am only 23 in a hobby dominated by retirees, retirees who can drop the hammer and call me out with their all-spanning experience!  That's a funny thing about Railway Modelling, it's probably the only industry I know of where you can survive by being stubbornly old fashioned - many business are still able to survive on mail order alone, Dean Sidings being a prime example, and their Pug conversion for the hornby 0-4-0 got a feature in Parker's Guide (a smashing modelling tips publication from Hornby Magazine).  My thoughts are along the lines of ideas about the state of the industry and where we can go from here, and some things damn well need to be dragged into the 21st Century!

In spite of the ageing demographics our the hobby, I am confident that it will survive, if only because Heritage Lines remain National Treasures somewhere between Stephen Fry and Spitfires.  Despite all the dreadful rhetoric of the “breakdown of family values”, there are still a great many people not quite so blemished, and can thus appreciate there's more to life than power over others.  I picked up a leaflet about that National Model Railway Museum at Ashford at a show, and I can understand why people may be worried by the line “think about the future of our hobby”, but rather than see terminal decline, I see the opposite – I see people looking out for us and ensuring we don't fade into history like a thief in the night.  In short, I see...  Immortality...


Okay, maybe a little too high on myself there...

Sunday, 11 January 2015

SLA 3D Printer Project Log 11.5: I hope paint don't watch me dry...

A quick update of the progress of my Printer:
  • Tallied up the parts needed and found I still had a great many detail parts to account for; frustrating, no?
  • Also need to get the Resin Basin lased - Is there some kind of standard way to mark a part of a drawing to indicate that it's scrap?  That would save the end user having to adjust for various laser cutters as he shops around the suppliers.
I managed to run a test using spray paint on the RAMPS mount, it's just standard DIY spray paint from Wickes (Satin White, looks glossier than I had imagined, then again I really ought to use primer):
Not too bad, but still got a lot to learn about spray painting.

It seems my overzealous application has soaked into the wood - a good start to preventing water ingress, but probably indicates that the two 400ml cans I bought will run out before the job is done.

I began the experiment with a teaspoon-full of tap water in the centre of the painted face:
It's being supported on top, a good start!
The reason I want to paint the panels is simple - I may not have the luxury of storing this printer in my house, which means it must either be placed in a garden shed or in storage, neither of which can be guaranteed to be completely dry.  Upon examining the part 1 hour and 30 mins later (3x the duration I had planned!), I was quite pleased to see this:
Same size, same shape - no water ingress!
As for constructing the frame itself, I plan to have assembled the Z Carriage, External Panels and Resin Basin before I dive into it, since their dimensions cannot be certain until they are fully assembled; using thread-lock is a must with the frame (it bears the weight, and we *cannot* allow the projector to be vibrated out of alignment), and I'd rather make things fit before the thread-lock sets.

Stay Experimental.

Thursday, 27 November 2014

SLA 3D Printer Project Log 11: Lasing on a sunny afternoon...

Exciting news on the making front:  my Laser Cuts have arrived!  Before I've even finished cutting my Extrusions (I'm a horrendous procrastinator), CutLaserCut of London have furnished me with 6mm Plywood Panels for the exterior; These parts have an almost psychotic precision to them - I drew these in Sketchup which draws Circles as slightly smooth polygons, and every face was sharply defined on even the smallest curves, running my finger over them felt like a D20 would if you felt it with your foot.

I reckon on a little show 'n' tell:

Clockwise from left:  Rear panel with PC Case and 180mm fan in place, Top Panel, Bottom Panel.
As you can see I stuck to fairly simple shapes for this, with lots of holes for the M4 bolts holding the panels on.

Left:  Front Panel; Right:  Both Side Panels (they're identical)
The Oblong bevelled holes are for the access panels which are to be made out of Fluorescent Acrylic (these absorb UV light, cuts out light pollution from external sources).

Another shot of the rear panel with rear-mounted equipment in place.
Of course, the fans will be internal and behind fan grilles once I assemble this thing, but the PC will remain external for access and cooling.

Misc Accessories, parts which make up things like the build bed (bottom left) and the Z carriage upper plate (top right).
The only problem I can see so far is the fact that many of the panels have warped, as can be expected for such thin plywood panels of this size.  It doesn't matter for parts other than the Z Carriage and possibly the Top Vent Cover (the rectangular plate with curved corners and all the cut-outs in), so I think I'll use Aluminium Angle bolted to the Carriage to ensure a level fixture for the Bearings and Threaded Rods driving the Z Carriage up and down.

"Why not use more plywood, or just glue on some Straight Scrap wood?"  Wood has a fantastic Strength-Weight ratio, especially Plywood, but ultimately while it can be very stiff, it is not that strong overall; The parts I use to stiffen can also warp which takes me back to my original problem.

Whew, an enticing delivery indeed, a glimpse into the future form of my Printer; just to end it on a high note, let us view this ultra-cute image of my bodged projector perched on it's mounting plate:

So far I've logged more hours watching youtube videos on this thing than it would be used for roughly 100 small prints!
Stay Industrious.

Thursday, 16 October 2014

SLA 3D Printer Project Log 10.5: 12 hours in a single shift? Count me in!

Late July?  What kind of excuse do you suspect I have this time?  I mean, 2.3 months, okay, that's not too bad, I thought it was at least 6 months for some reason.  There is a reason why the Tawe TMD blog has suddenly come back to life (hopefully not to fall dead again), and bizarrely it has nothing to do with model trains.

Let me introduce you to my working life; Before recently I was working a standard 5-day 8-hour week, "Big Deal!" you crow, "I manage to model!", trouble is that I'm quite the lazy git - me and go-getting just don't gel.  The company I work at (not named because legal blah) has been quite demanding with regards to overtime, I usually ended up doing 4 hours on Sunday; Add that to my gym session, an essential as I approach that dreaded mid-twenties period where you apparently balloon up without warning, and I am left with only one free day - Saturday.

Now, if some of those who know me suggest "well, if you let go of them train trips you keep taking all the goddamn time..." they'd have an irritatingly condescending point; I take these trips as though I'd go mental if I stop, I don't even know how I can afford anything else sometimes.

This brings me neatly to 4 on 4 off - this is where you take 4 12-hour days in succession in exchange for 4 consecutive free days.  A quick cliff-note version of my verdict:  Super!  The 12 hour days might sound arduous to some, and they are when there's nothing to do and you are basically being paid not to have fun at home, but overall they only feel marginally longer than 8 hours due to sheer momentum.

"But don't you feel super-knackered afterwards?"  That is true, when I cycle home I feel as though I'm being fuelled by raw desire to slump into bed, but that was also true of 8 hour days and even of 4 hour days when I worked retail or even as a gardener (Sewer Maintenance looks like an adventure compared to those two).  You just exist in a state of semi-cryostasis in which you can only find energy to procrastinate.

Is this a SLA log or not?  Content, dammit!


Yep, this is instalment 10.5 simply because I've not got much new to announce, just a milestone and a minor announcement, really.

I've begun construction!

What industry and a wrecked elbow looks like.

Looks like a sizeable pile of parts, no?  Tell you the truth, I have nearly 15 metres worth of extrusion to cut!  Its all spread out across 11 1.5m extrusions (a decision I rather regret now), and initially I used a junior hacksaw i.e:  a one way ticket to both carpal tunnel syndrome and a dislocated elbow.  Get an Angle Grinder on the Case!

Fittings are yet to arrive, as I've ordered 75 Corner Braces alone, it's not easy for Proto-Pic to fulfil such demands as mine on a dime.  Overall, I seem to be well on my way, a fantastic feeling once you've cleared that dreadful middle part of any project, that pit in the bell curve where energy goes to die.

Minor Announcement?  Oh yeah, I plan to make a free build guide for anyone wishing to make their own machine, I believe that I've already said that the .skp file and .STLs will also be open source.  This, if anything, is a dry run for how I take to writing future build guides and possibly eBooks in future.  I dunno what those'll be about yet, probably train trips.

Stay Superb.

Sunday, 27 July 2014

SLA 3D Printer Project Log 10: It's Extrusive!

Aluminium Extrusions...  How could I have missed you so?  Such a simple way to build up frames, especially for prototypes; here I was about to spend £400 on laser cutting plywood into a rigid frame, as well as £160 for 3D Printed parts!

Advertising my stupidity is a good way to begin a post, no?  Just to prove the opposite, I'll divulge to you what I've got in mind thus far:

A fairly basic crate :)
As can probably be seen in this image alone, Aluminium Extrusions are essentially the Lego of the garage hacker, allowing rapid construction of non-standard frames and sub-assemblies by way of nuts which fit into grooves in aluminium bars, with bolts then holding it all together.  Compared to the previous laser-cut plywood design...  Actually, why not invoke an excuse to use bullet points rather than actually write?

Goods

  • Rapid addition of any newly-required features
  • The Projector Crane can be an integral part of the frame for additional strength
  • Plywood parts can be cut by hand - superb precision is no longer needed since it is automatically attained by a precision-manufactured metal framework

Bads

  • If a casing is used (as you can see, it is), you may have trouble upgrading to a bigger projector
  • Design is largely limited to right-angles
Not much on the bad side, eh?  Pity it's far from finished - the build-bed requires extensive re-working since I plan to only use laser-cutting for the Resin Basin (this part needs to be made so well you'd think I cast it whole) and I need to model all the brackets I'll need to assemble this thing.  All in all, not bad for a rediscovery made possible by a discussion with a colleague at work :)

Until we meet again...