I attended Brighton Modelworld 2014 on Saturday the 22nd of February (such was the state of my affairs afterwards, took me long enough), all went fine until the return train ride (Brighton - Clapham Junction - Farnborough Main) that I suddenly felt a great heave in my belly... and up came some grapes...
Two hefty, debilitating vomits later, you have the longest and tensest train rides you can ever experience.
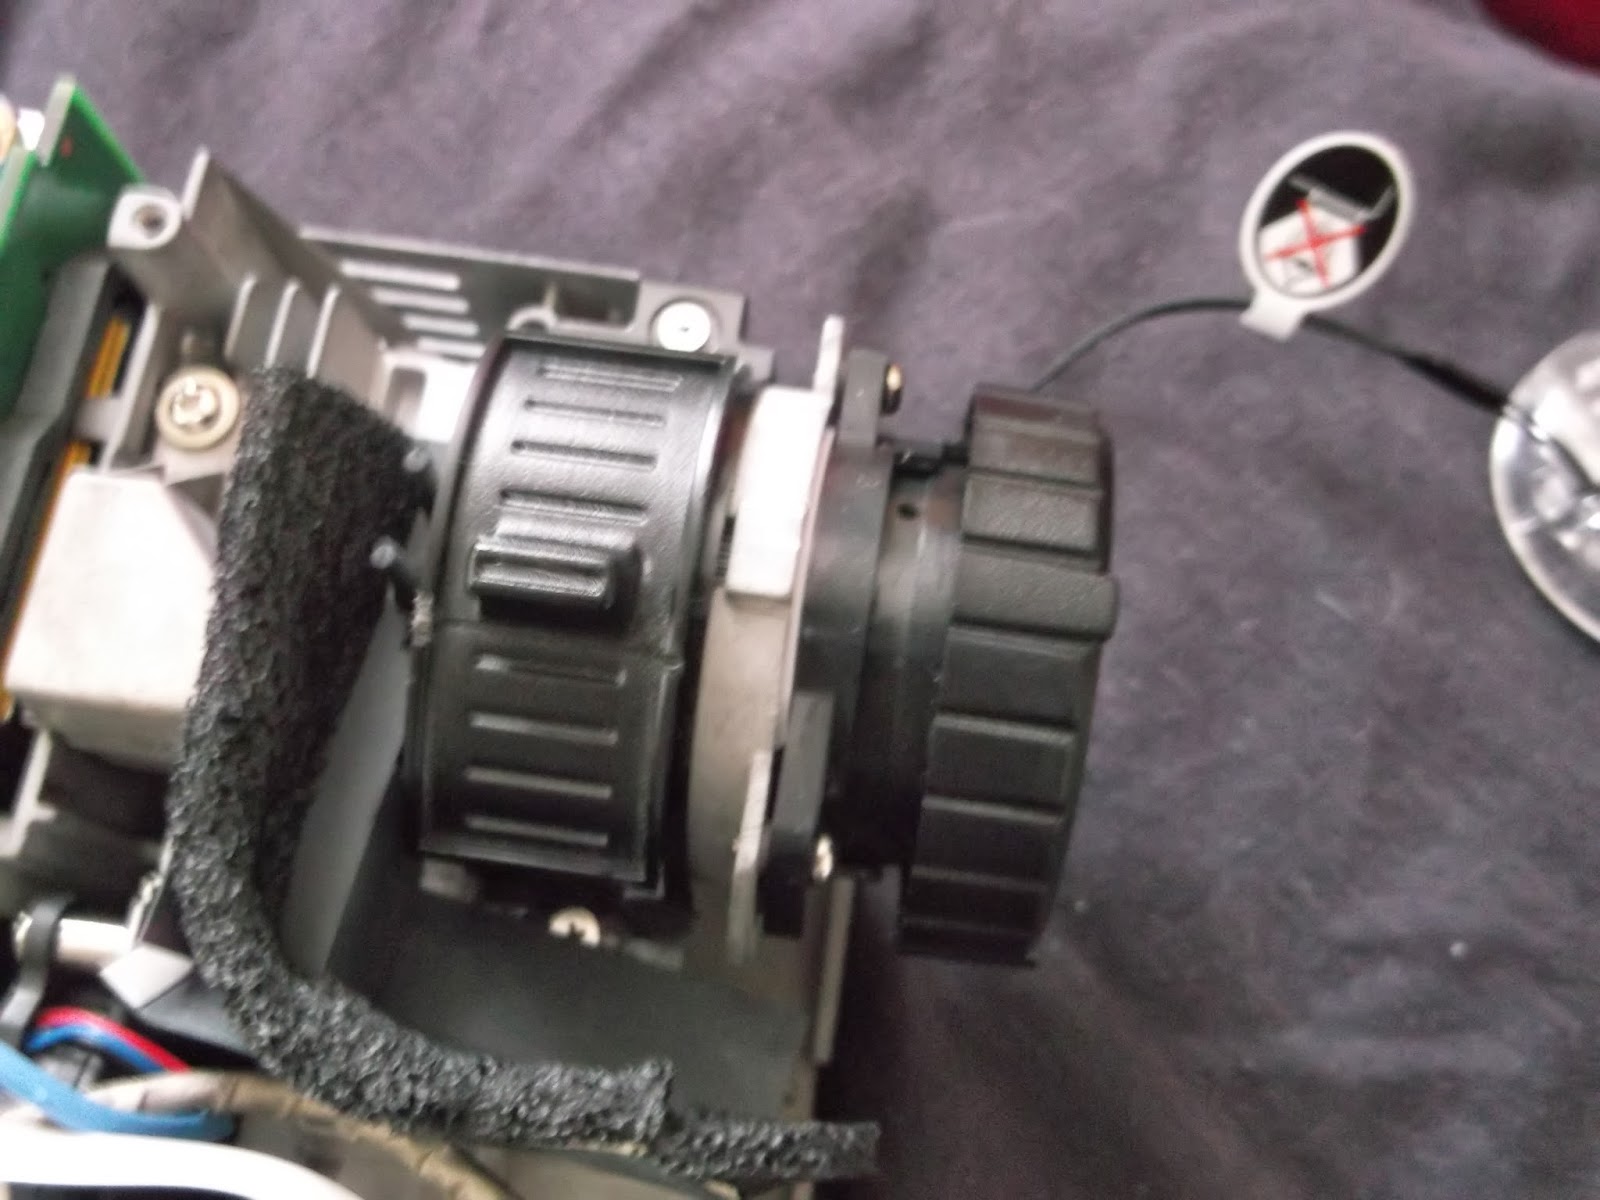
So yep, I have no idea why this Demon-spawn (of which as few as 5 can infect) isn't on the CDC's hit-list, but that's why I've taken so long to get back on track; and what better to kick it off than a projector that has seen better days:
 |
| Turns out there was an embedded screw in the middle >:( |
 |
| The focusing lens and the zoom lens exposed. |
I say that I'll need no magnifying glass because I decided to ditch the expensive DSLR lens (which probably wouldn't have worked) and play with some plain old magnifying glasses. The aim was to allow an unmodified projector to achieve smaller focused images, thus potentially saving hundreds to experimental makers. Being as efficient as I am, I'll parade some images of the results:
 |
| This 60mm magnifying glass sparked my interest in this experiment, it proved too small for a complete image. |
 |
| This glass dispensed with the rims, but had poor optical properties; all that was achieved was interesting image distortions. |
 |
| Fresnel lens, used in reverse: Almost, but not quite. |
 |
| Fresnel Lens, used correctly: Actually made things worse! |
 |
| Quality 100mm Glass: Actually proved best overall, but still some distortion evident towards the top - I couldn't source any glasses bigger than this. |
When I did get the projector to focus, I managed to assess it's ability to cure resin using an old Gü pot as a container, I am using Spot-GP from Spot A Materials, and the results are decent to say as much as I can at this stage:
 |
| This shard is about 1mm thick on average, and It took around 10 seconds to form, so a 0.1mm layer takes a second. |
Don't get me wrong, I have reservations about using these resin models structurally, so I have made progress on my Reprap Prusa Mendel i2 in aid of this; before the RAMPS board died (that'll teach me to buy down to a price) I managed to print a few 10mm cubes:
One final topic: I've been investigating the onboard computer idea, and some guy called Torben Mogensen is creating a Pi-based controller for his printer. This is still very much in beta, so I'll go via the simpler but more power-intensive route of adding an x86 PC to the case, which will run Creation Workshop. I've liberated a PSU from my Main PC from an upgrade, a 700w model that should power all inside without trouble:
 |
| That tangle of cables concerns me... |
Bespoke AMD Machine:
- CPU = AMD A6-6400K Dual Core 3.9GHz with Radeon 8470D Graphics
- Motherboard = MSI A78M-E35
- RAM = 4GB DDR3 1866MHz to boost APU Graphics
- SSD = Crucial V300 120GB
Shop-Floor-Bits Machine:
- CPU = Intel Pentium E2160 1.80GHz Dual Core
- Motherboard = MSI G41M-P33
- RAM = 4GB Corsair Vengeance DDR2 1066MHz
- GPU = Nvidia Geforce 6600GT 256MB
- SSD = Crucial V300 120GB
The Bespoke Machine costs up to £260 with all ancillaries accounted for, while the Shop-Floor-Bits Machine will only cost £130 in the same condition. Looking up performance figures on Passmark (great site), I get the following predictions for performance:
- Format = Bespoke : SFB (% Difference, positive towards Bespoke)
- CPU = 2400 : 996 (141% more)
- GPU = 526 : 103 (411% more)
CPU is not so important as GPU performance in this case, since it will need to handle complex STLs in preview without slowing to a crawl. The AMD system is only twice as much yet has 2.4X the CPU power and 5.1x the GPU power. I've discovered that creation workshop will slice in seconds even on relatively slow CPUs like my decrepit 2.2GHz Turion TL-64 laptop. The AMD system is more power efficient too, with a 65w TDP vs 65W+35W (CPU+GPU), or 100W. The SSD is there for durability and speed, and the RAM is just enough for a smooth OS (probably Windows 7).
Thank you for reading this far, this was a big post and one I put off for quite a while, searching for a Graduate Engineering Job and prepping for interviews is a project in itself. I'll see you next time, hopefully with some renders for the printer framework.

No comments:
Post a Comment